3.1 Create a New Project#
Capability summary#
The operator selects an existing LIMS project, picks the equipment the
project will be tracked under, chooses a project-scope template, fills
in the resolved variable form, supplies the mandatory core fields
(label, operator, objective), and confirms. On confirmation the
controller validates the inputs, Copier renders the template into
<local_root>/<equipment>/<lims_short_id>/, the .exlab-wizard/
cache (creation.json and readme_fields.json) is written at the
project level, and the result is queued for sync to NAS. No LIMS
write happens in v1; the LIMS project already exists and the wizard
simply attaches metadata for tracking. See section 02 §3.1 of the
design spec for the authoritative capability contract.
Walkthrough#
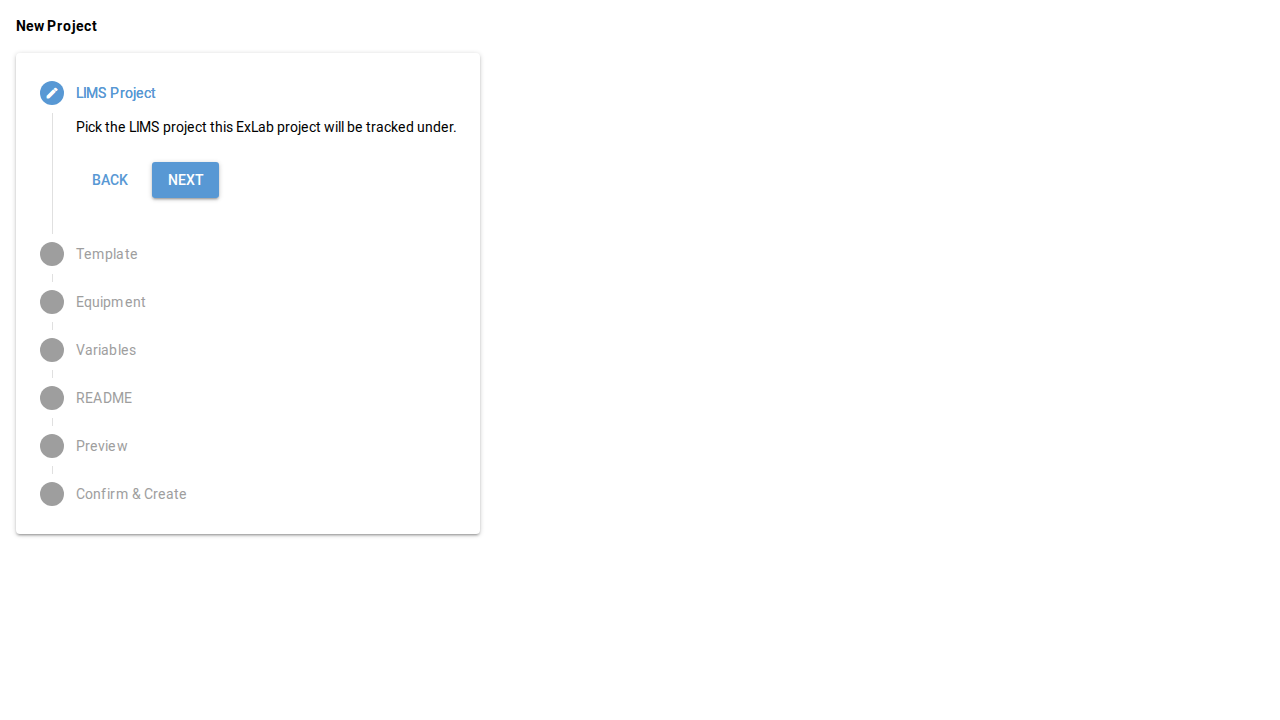
Open the wizard. From the main window’s toolbar, click the New project button (
data-testid="toolbar-new-project").Step through the seven-step stepper. The wizard surfaces: LIMS project selection, equipment selection, template selection, resolved-variable form, README field form (capability 3.5), preview, and confirm.
Submit. The Create button on the confirm step writes the project tree, the cache, and queues sync. The wizard renders a success card; from here the operator may either close the wizard or jump back into the browse view.
Screenshots#
The screenshots below are generated by scripts/generate_screenshots.py
against the e2e test surface; each capture matches the corresponding
NiceGUI page object under tests/e2e/page_objects/.