

Browse source images#
The Browse tab is a deep-zoom viewer for the raw input images under your
selected source root — before you build a pipeline or run anything. It lists
every image under the source folder with two cascading dropdowns (dataset
folder → image) and a ‹/› stepper, and renders any one in an OpenSeadragon
viewport with a metadata panel.
It is designed to work offline over an SSH tunnel: OpenSeadragon is vendored (no CDN), each source file is lazily normalized to an 8-bit RGB PNG, and the tiles live in an ephemeral temp cache that is wiped each session.
Step 1 - Open the Browse tab#
Browse is a leaf tab immediately after Home in the top bar. Open it, or
navigate to /browse/:
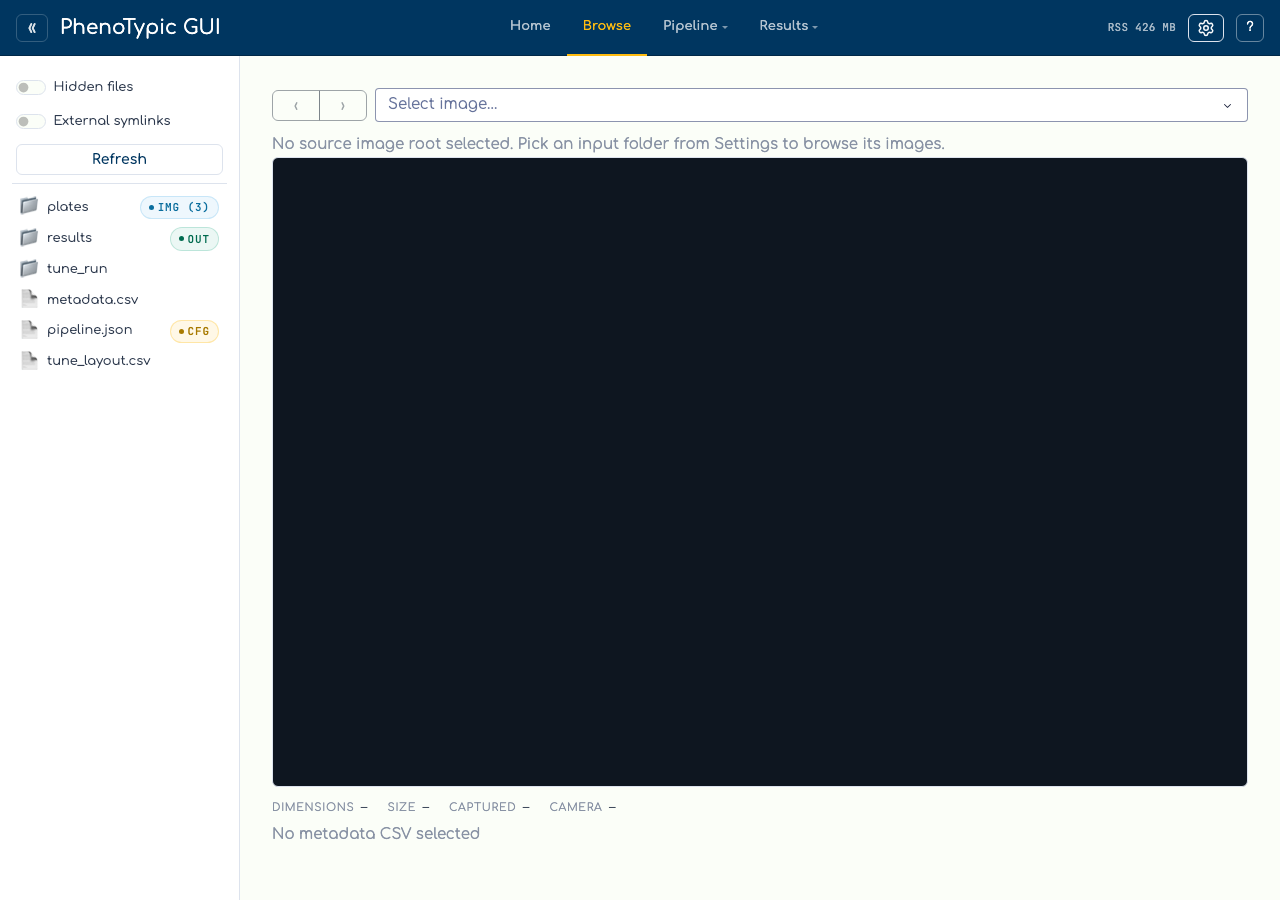
With no source root selected, the page shows a hint asking you to pick one
from the top bar. The Browse tab reads the shared source root — the same
source: status control the rest of the hub uses — so once a source is set,
every page that consumes it (including Browse) updates together.
Step 2 - Select a source#
Click the source: status in the top bar to open the sandbox-bounded
directory picker, navigate to the folder holding your images, and confirm.
The Browse tab reacts immediately:
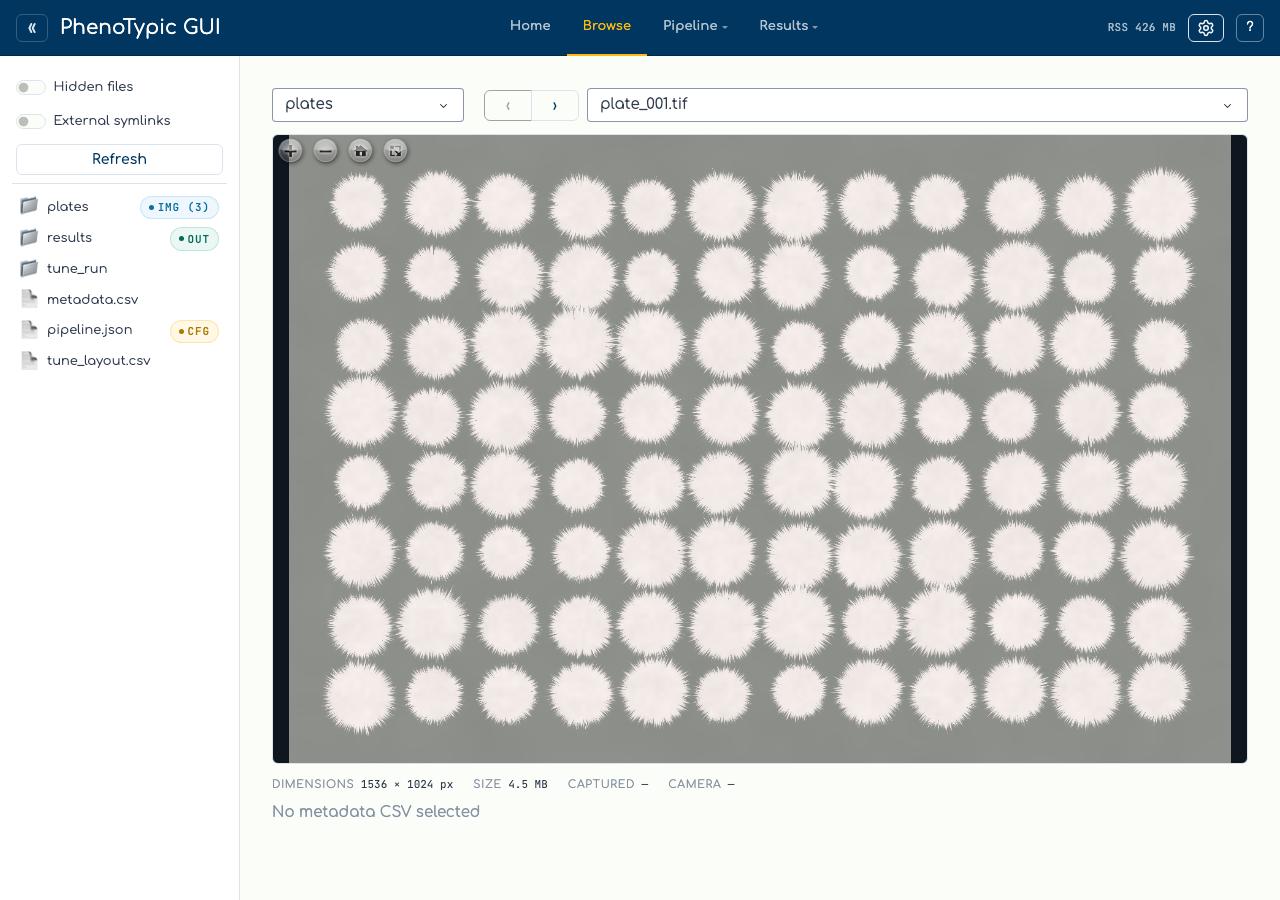
Dataset dropdown — images are grouped by their subfolder relative to the source root (
.is shown as(root)). When the source folder is flat (all images directly under it), the dataset dropdown is hidden and you only see the image picker.Image dropdown — lists the files in the selected dataset. The first image auto-selects so the viewport is never blank.
‹ / › stepper — moves to the previous / next image within the current dataset. The buttons disable at the first and last image so stepping never wraps around.
Step 3 - Browse and zoom#
The viewport is OpenSeadragon, so zoom (scroll / pinch) and pan (drag) are GPU-smooth even on large plate scans. Each source file is tiled into a deep-zoom (DZI) image pyramid on first view, so only the tiles you are looking at are loaded — large RAW or TIFF scans open responsively.
Images are rendered faithfully: any supported format (standard formats and
camera RAW alike) is decoded through phenotypic.Image and downcast to 8-bit
with a full-range conversion — no auto-contrast or histogram stretching — so
what you see matches the pixel data the pipeline will operate on.
Step 4 - Read the metadata#
Below the viewport, the metadata panel reports, for the current image:
Field |
Source |
|---|---|
Dimensions |
Pixel width × height. |
Size |
On-disk file size (human-readable). |
Captured |
EXIF capture timestamp, when present. |
Camera |
EXIF camera make + model, when present. |
EXIF is pulled from the image’s imported metadata (populated by exifread for
JPEG and TIFF-based RAW such as NEF / CR2). Any field that is absent or
unreadable is omitted — the panel degrades gracefully rather than erroring, so
a plain PNG simply shows — for the EXIF fields.
Note
The tile cache is ephemeral. Normalized PNGs and their DZI tiles are
written under tempfile.gettempdir()/phenotypic/browse, keyed by the image’s
path. The cache is wiped on launch and again at process exit, so nothing
persists between sessions and the cache never accumulates stale tiles. RAW that
cannot be decoded on the current platform (e.g. camera RAW on Windows, where
rawpy is unavailable) surfaces an inline viewer notice instead of a broken
tile.
Where to next#
Build a Pipeline — once you have eyeballed the input images, compose the pipeline that will process them.
View Results — after a run, the Results viewer renders each plate with detection overlays and the measurements table.