3.6 Configure Equipment, Paths, and Integrations#
Capability summary#
The Settings dialog is the only operator-facing surface for editing
config.yaml. It groups the editable surface into nine sections,
including paths (templates, plugins, local data root, NAS sync root),
equipment registry, LIMS endpoint, orchestrator toggle and staging
root, and notification preferences. On save, validation runs first –
paths must be resolvable, the DB connection string must parse,
equipment IDs must be unique and filesystem-safe – and then the
config is written via ruamel.yaml to preserve comments and key
order. See section 02 §3.6 for the authoritative contract and section
09 of the design spec for the configuration-file schema.
Walkthrough#
Open Settings. From the toolbar, click the Settings button (
data-testid="toolbar-settings").Navigate sections. The left rail lists each section (
data-testid="settings-nav-<section>"). The body (data-testid="settings-section-<section>") updates as the operator selects.Edit, then save. The Save button (
data-testid="settings-save") runs validation; on success the dialog renders the saved-marker (data-testid="settings-saved"). The Discard button (data-testid="settings-discard") abandons pending changes.
Add Equipment wizard#
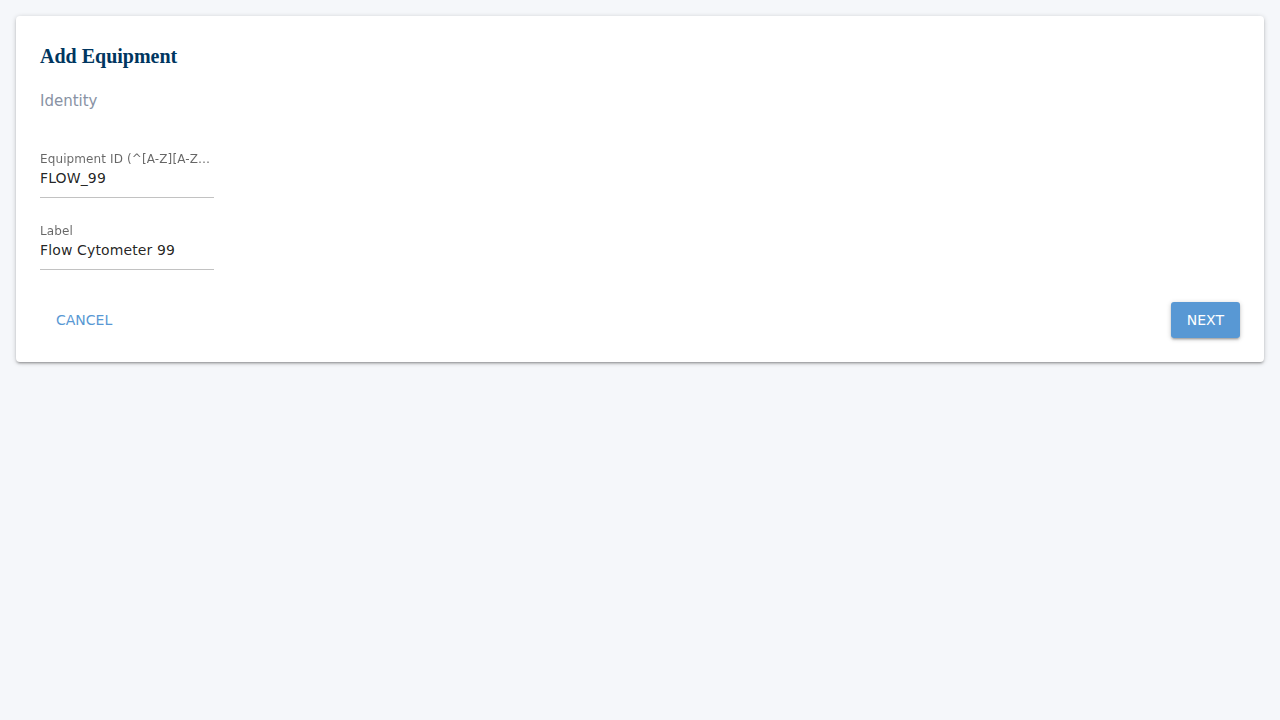
The Settings dialog edits equipment that already exists; registering a
new device uses the dedicated Add-Equipment wizard, opened from the
main-window toolbar’s Add Equipment button
(data-testid="toolbar-add-equipment"). The wizard walks four steps –
identity, paths, sync mode, and a review step – then posts the
assembled EquipmentConfig to the configuration router.
Editing or removing a registered device stays in the Settings dialog’s
Equipment List section, which the file-explorer tree context menus
deep-link into (Redesign decision 4A).
Open the wizard. Click Add Equipment on the main-window toolbar to navigate to
/wizard/equipment.Step through the wizard. Supply the equipment identity (
data-testid="wizard-equipment-id"), the local and NAS paths, and the sync mode (nasorstage).Confirm. The Confirm button on the review step (
data-testid="wizard-equipment-confirm") registers the device and returns to the main window.
Screenshots#